
Not only are these jars functional, they are totally gorgeous and that means a lot to me. Whether yours are for storage or for decoration purposes, you just have to rinse out that spaghetti sauce and get after it. Please note, however, these are NOT safe for drinking or as vases with water inside – plastic stems ONLY.

For this project you will need:
- Gloss Mod Podge
- Liquid food coloring (I used neon colors)
- Water
- Mixing bowl(s)
- Spoon(s)
- Oven
- Cookie sheet lined with wax paper
- Paper towels

Take a dollop of gloss Mod Podge and place into your bowl. Add about 10 drops of food coloring and mix well. Add a few spoonfuls of water and mix until the mixture is still thick but considerably runnier – like a melty milkshake.
Just so that you know at this point in the game, you’re adding white that is going to turn clear to the mix. If you want to gauge the color, look more closely at the color of the food coloring. Granted the darker the mixture the darker it will inevitably come out, but take that into consideration. If color is imperative, I’d highly recommend doing a single tester and modifying your mixture for the real deal.

Pour your mixture right into the bottom of your jar. Twist, turn and roll the jar around until the entire inside is well coated with your Mod Podge mixture.

Allow the excess to run off back into your bowl. Wipe any large globs off of the rim and turn upside down onto some paper towels so it will finish coating (with extra pooling on your paper towels). After 5 minutes, pick up and move to a clean spot on the towel. After another five minutes, turn upright and place on your wax paper covered cookie sheet.

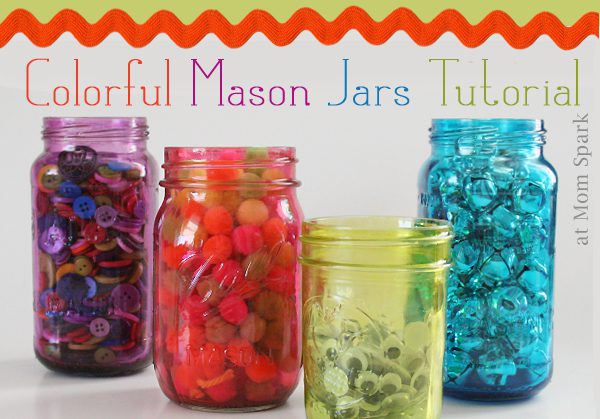
Here are my jars filled with the wet Mod Podge mixture. If you like this look, you can achieve a finished product like above using acrylic craft paint instead!

Set your cookie sheet onto the oven rack and turn the oven onto 200 degrees. Leave in until all of the Mod Podge inside turns transparent. These have been in the oven for about 45 minutes. You can see that the green ones on the left are practically done but some of the others have a long way to go. Check on the jars every 15 minutes and remove as soon as there is no more opaque liquid in the bottom.

Allow to fully cool and then you can start using them for storage or decoration!

Just remember, if you want nice, dark colors go kind of heavy on the food coloring! Have fun!!!
Thanks for reading see you next time.
No comments:
Post a Comment